Your first match
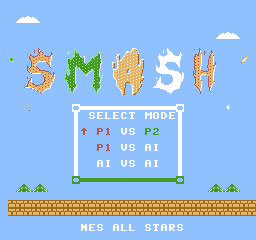
- W / S picks a mode.
- Enter or J opens fighter select.
Start a match
Section titled “Start a match”Open Play, click the game for keyboard focus, then choose a title option with W / S and press Enter or J. In the lobby, choose the first fighter with A / D. In a CPU mode, choose the second with W / S. Press Enter or J to begin.
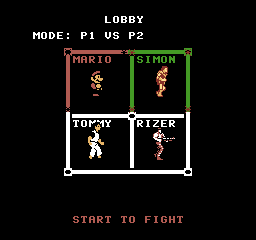
- The red frame is P1. A / D chooses a fighter.
- The green frame belongs to P2.
- Enter or J starts the fight.
Choose P1 VS AI for a first game. Move with A / D, jump with W, jab with J, and use a special with K.
Read the battle
Section titled “Read the battle”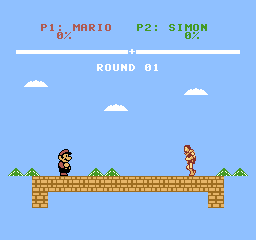
- Damage is not health: a bigger % means a bigger shove.
- P1 starts on the left.
- Catch the top to land. Jump through it from below.
The percentage below each name is accumulated damage: higher damage sends a fighter farther when hit. Leave an edge, turn back, and use your jumps to return.
Press Tab to leave the player. In the lobby, Select returns to the title; in battle, hold Start + Select. Continue with controls, fighters, or combat and recovery.
Controls
Know yourButtons
Keyboard → NES
Tap. Release. Tap again.
Two jumps!Mario throws a fireball.
Hold left or right.
Get close. Tap to hit.
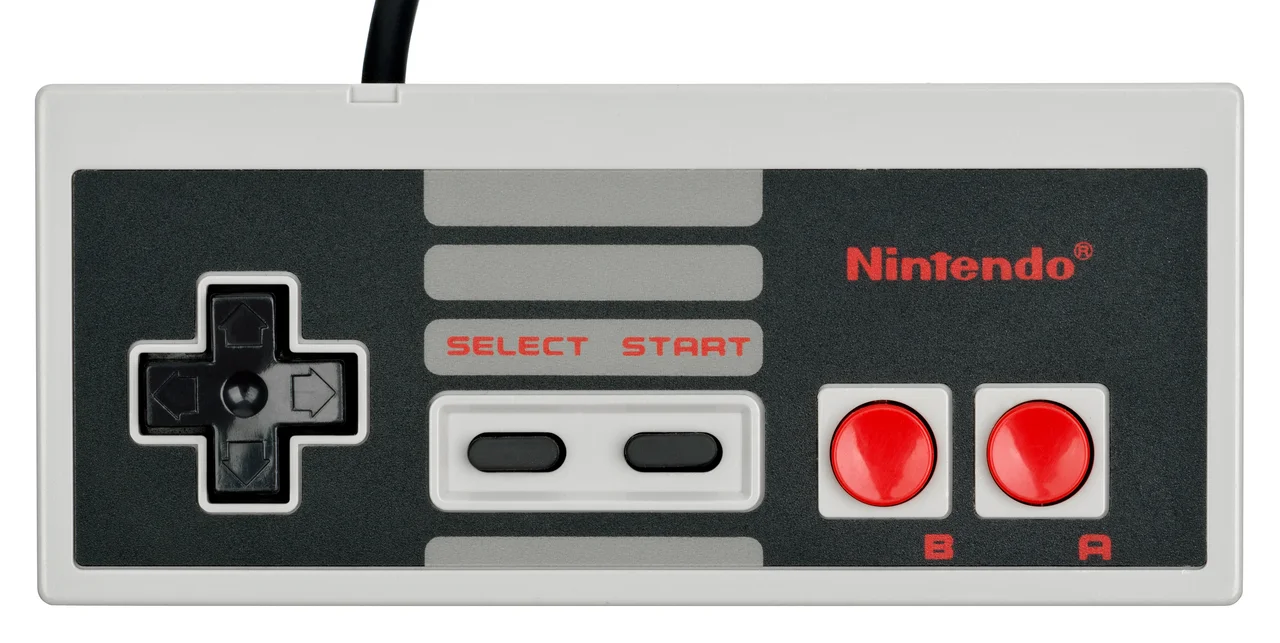
DD-pad RightMove right
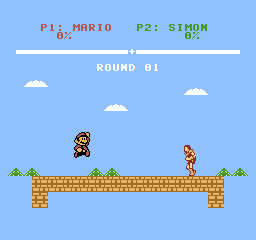
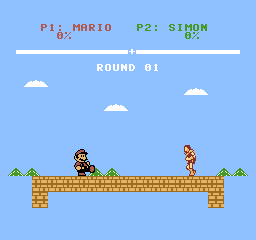
In battle, A / D moves, W jumps, J jabs, and K uses your special. Release W and press it again in the air for the second jump.
1Press W
native capture · 256 × 240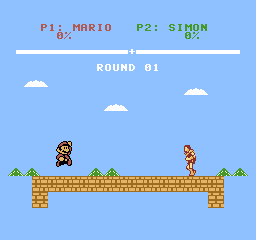
- Tap W to leave the ground.
Press WThe first press lifts Mario off the platform. 2Let go!
native capture · 256 × 240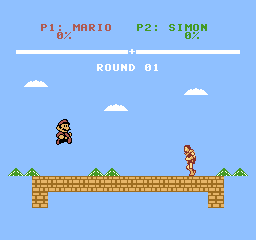
- Let go of W. You still have a jump.
Let go!Up stays released as the first jump ends. 3Press W again
native capture · 256 × 240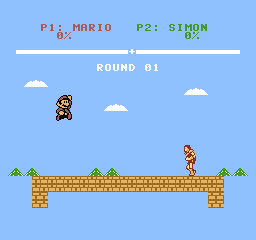
- Tap W again. Back up you go.
Press W againThe second fresh press reverses the fall.
Holding W won’t spend both jumps. Land to get them back.
At the title, W / S chooses an option and Enter or J confirms. In the lobby, A / D selects P1; W / S selects the other fighter in CPU modes. Enter + ’ returns to the title during battle.
Why did held J stop after one jab?
Each press accepts one action. Release J before pressing it again.
On touch, Up jumps, A jabs, and B uses a special. Click or tap the game before playing; controls release when it or the browser loses focus. The keyboard map is P1 only.
Meet the fighters
All four move and jump alike. Pick your attack.
Mario
Short jab. Bouncing fireball. Follow the shot.
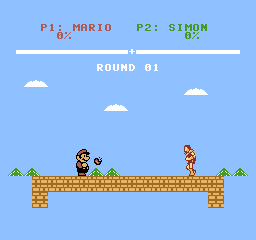
- K launches a fireball.
- Follow the shot. Use J when you get close.
Simon
Long whip. An axe that rises, then falls.
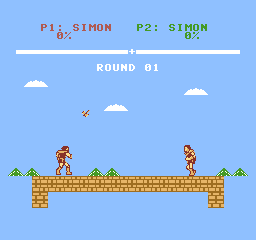
- K throws the axe up and forward.
Tommy
No projectile. The longest kick.
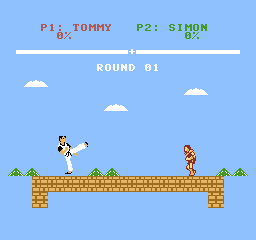
- Press K for the longer kick. Keep steering.
Rizer
A fast, straight bullet. Fire from the air.
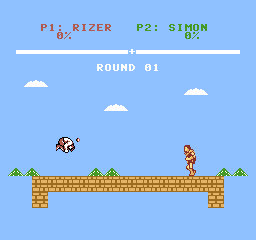
- W, then K: the bullet travels straight.
- He keeps the curl while airborne.
Spacing, damage, and recovery
Find the distance
Section titled “Find the distance”- Too far! The kick misses.
- Simon is still at 0% — no hit spark.
Get inside an attack’s reach before committing. A jab can miss when you are too far away; a special can cover more space.
Build damage
Section titled “Build damage”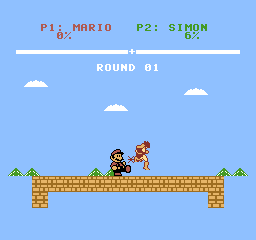
- J connects. Look for the spark.
- Simon goes from 0% to 6%.
- The hit lifts Simon into his hurt pose.
Hits add percentage and knock fighters sideways. More percentage means farther knockback, so push an opponent toward an edge while protecting your own position.
Recover
Section titled “Recover”Walk off an edge, turn inward, and tap W while falling. Release it and tap again only if you need the second jump. The platform catches you while you fall onto it; there is no ledge grab. Crossing a side or bottom boundary respawns you at zero percent.
You know the buttons. Go find the edge.
Play a match ↗